Getting Started
Set up your first website and understand the Cookie Consent dashboard.
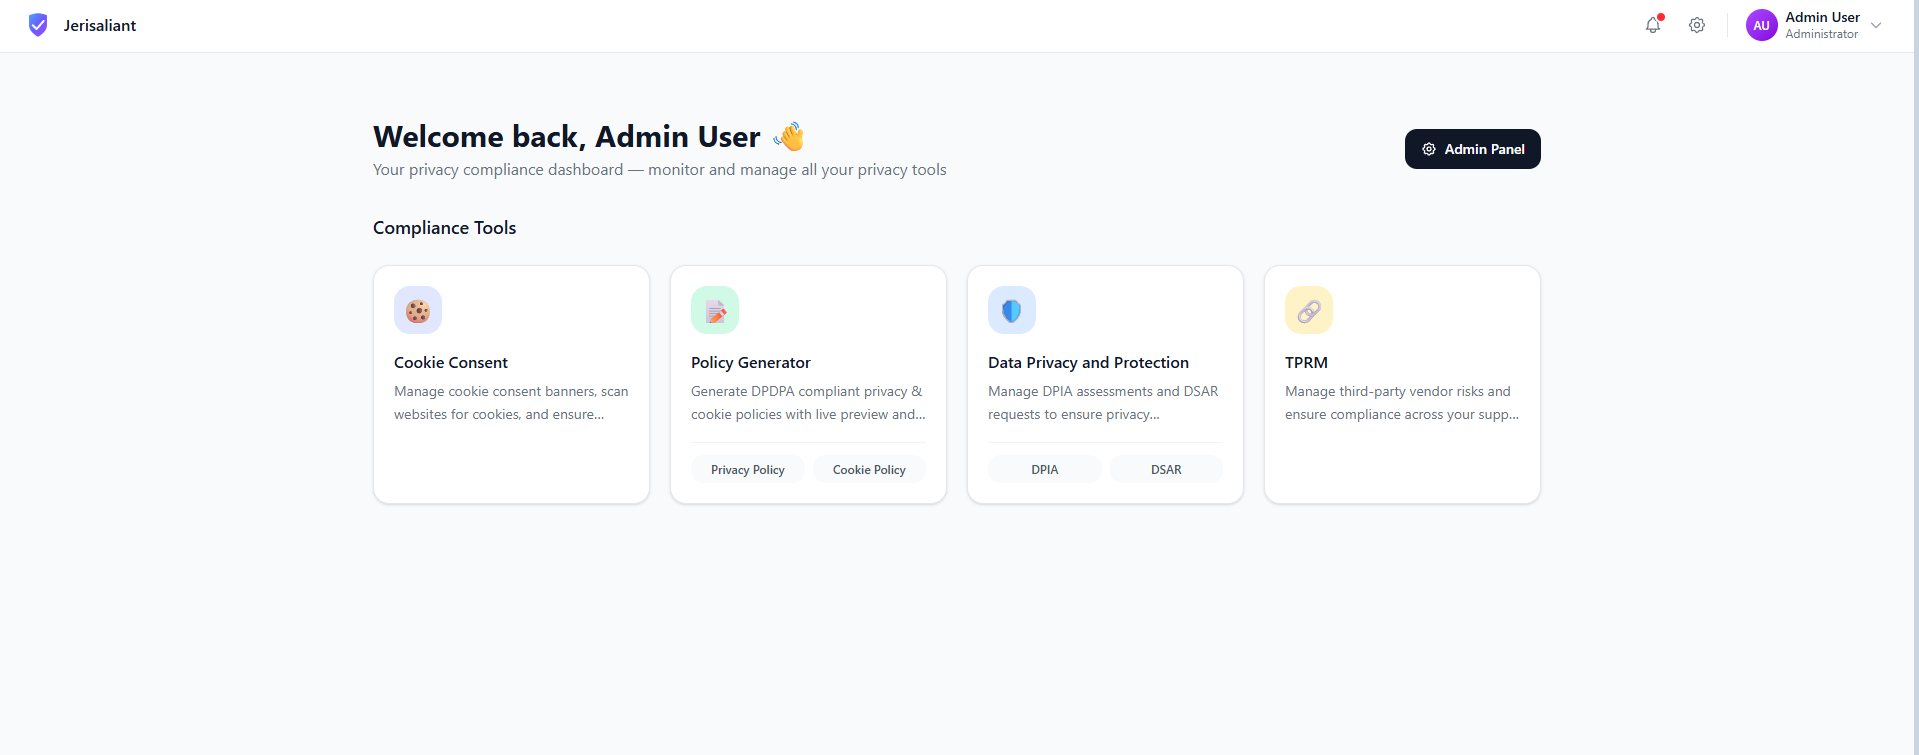
Accessing Cookie Consent
From your Jerisaliant dashboard, click on the Cookie Consent card to access the module. Here you can manage all your websites and their consent configurations.
Jerisaliant Dashboard with Cookie Consent module
Screenshot placeholder
The Websites Dashboard
The Websites dashboard gives you an overview of all your configured websites, their scan status, and deployment state.
Cookie Consent Websites List
Screenshot placeholder
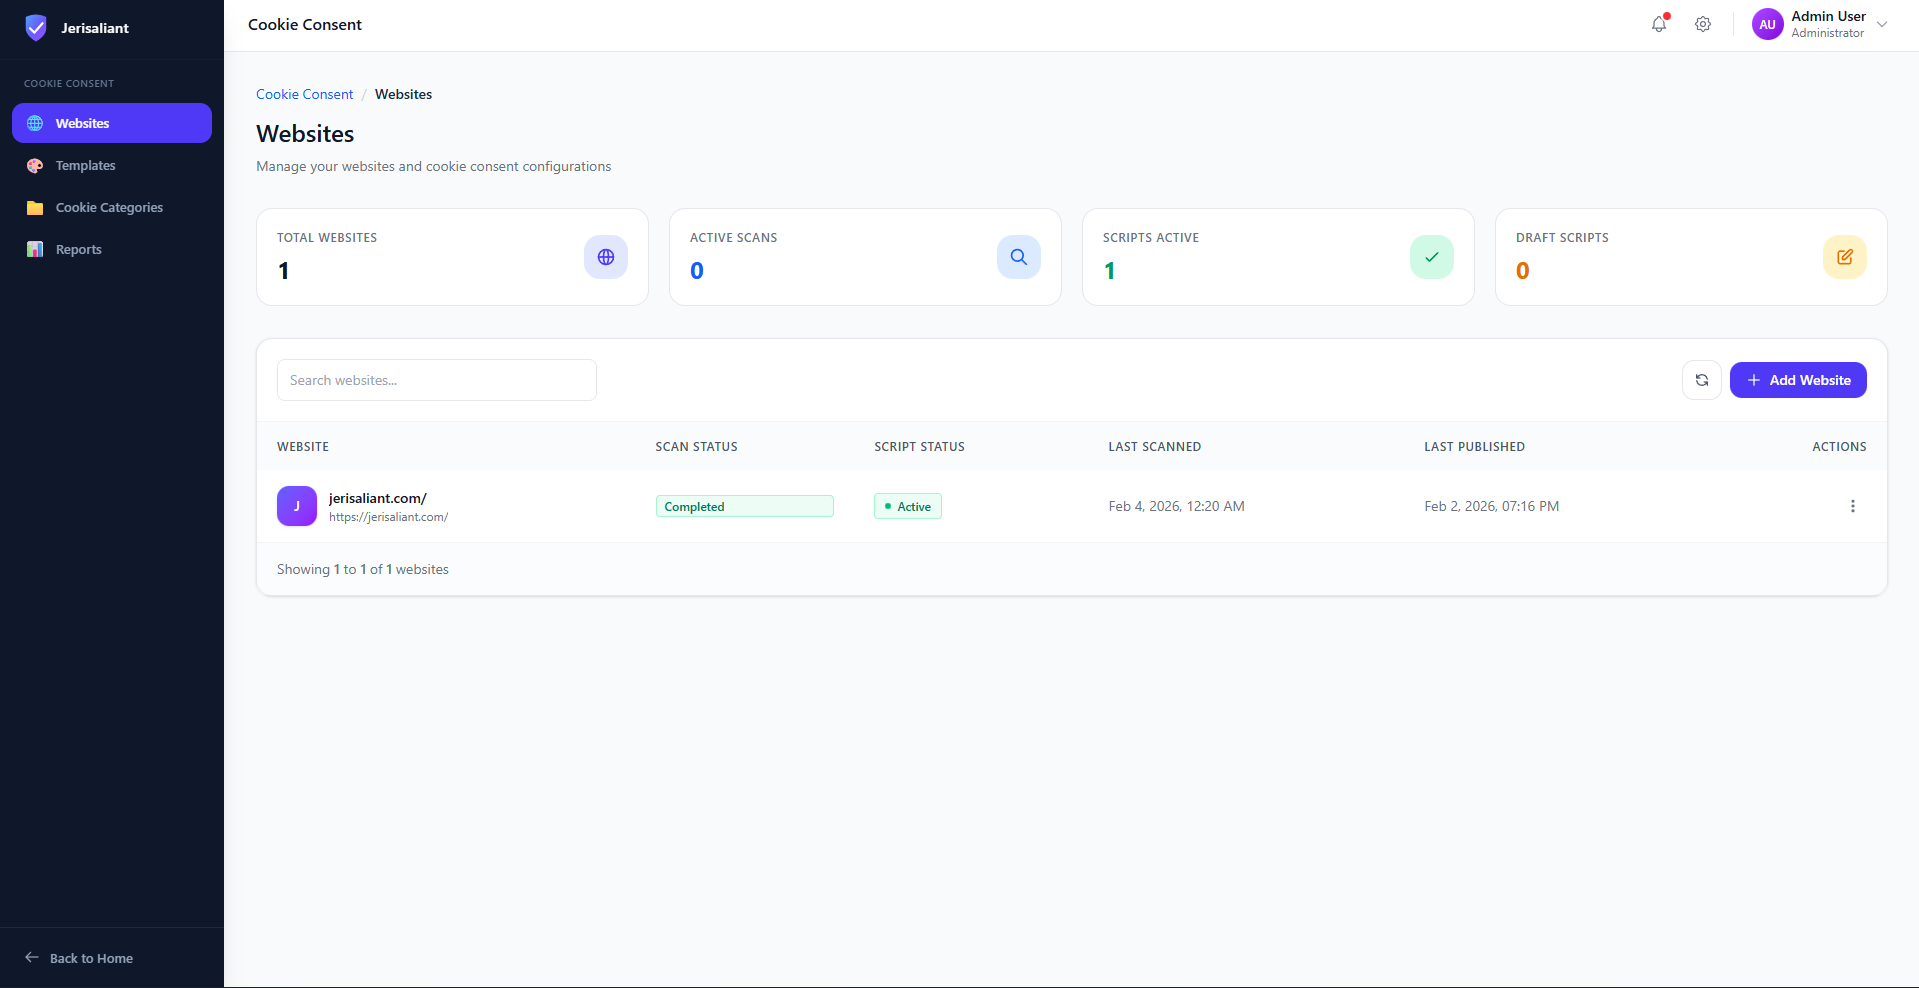
Dashboard Metrics Explained
- Total Websites: Number of websites you've added to the platform
- Active Scans: Cookie scans currently in progress
- Scripts Active: Consent scripts that are live on your websites
- Draft Scripts: Configured but not yet published to production
Adding Your First Website
Click Add Website
Click the + Add Website button in the top right corner of the dashboard.
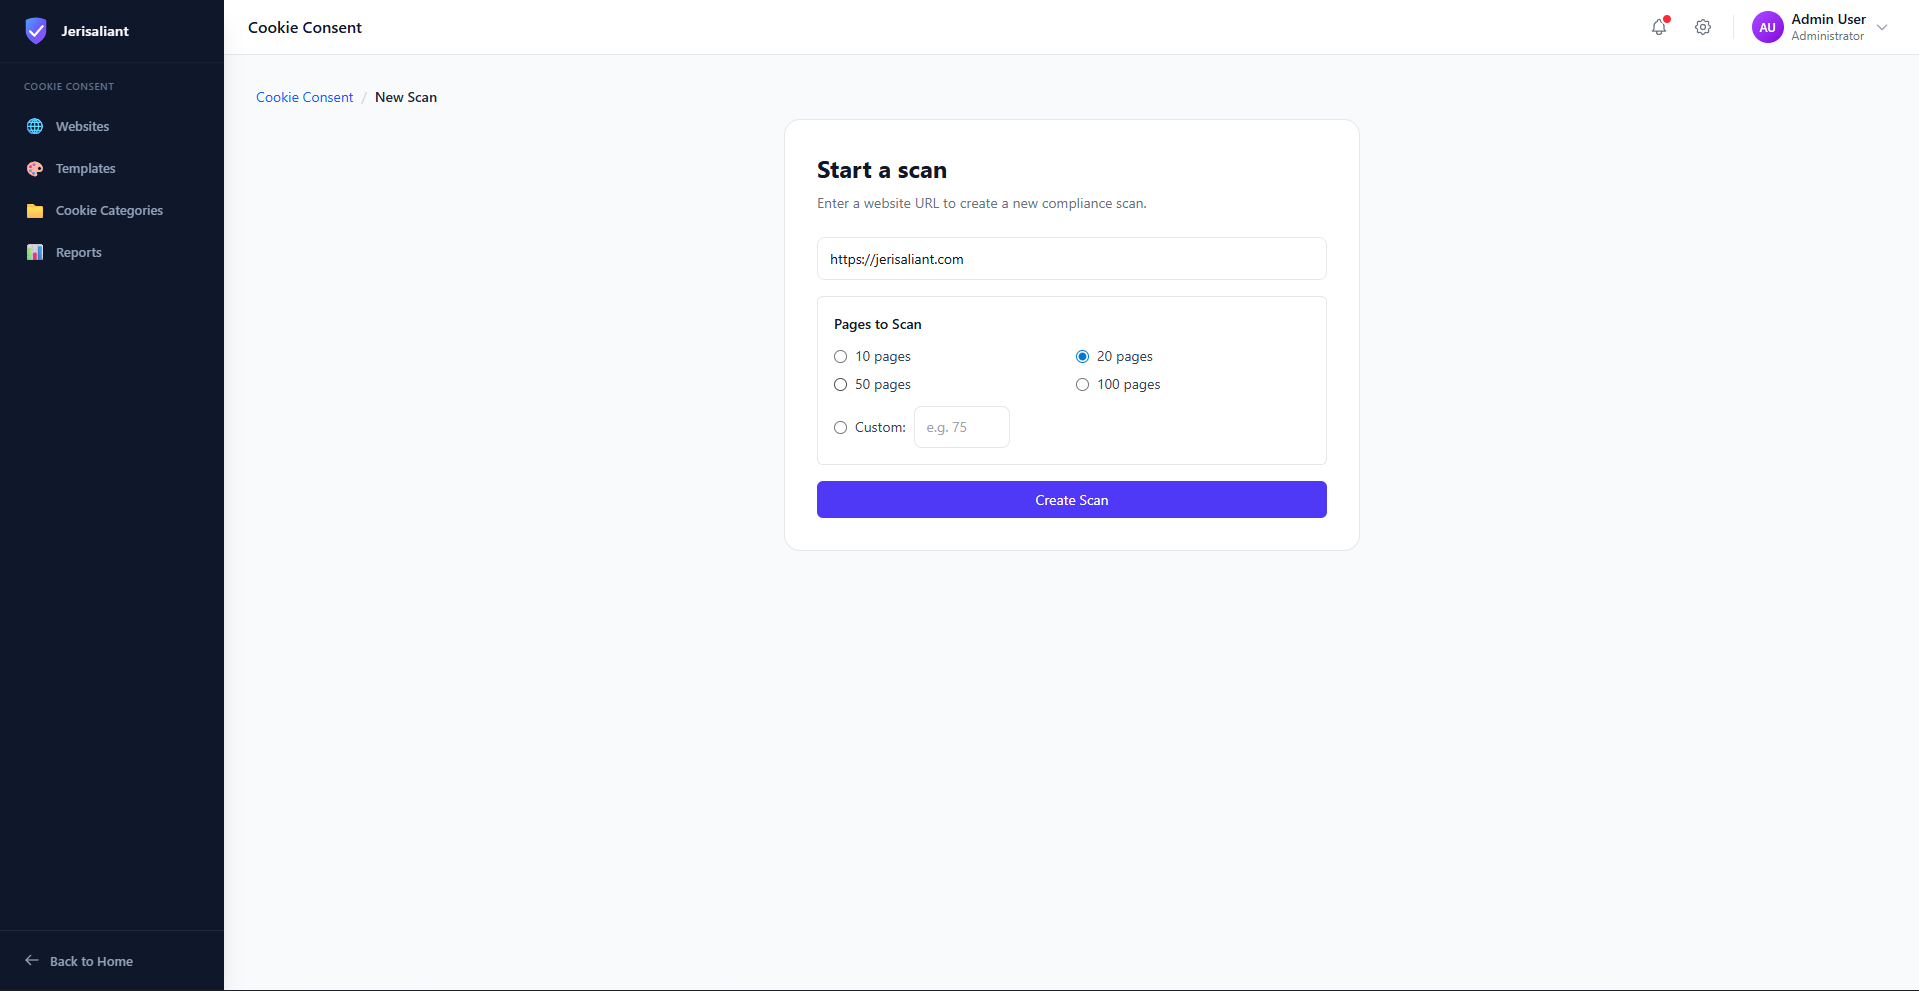
Enter Your Website URL
Enter the full URL of your website including https://
Run Initial Scan
Select the number of pages to scan and click Create Scan. We recommend starting with 20 pages for a quick overview.
Start a new cookie scan
Screenshot placeholder
Next Steps
Once your scan completes, you'll see the scan results including detected cookies, compliance grade, and recommended actions. Continue to the next section to learn about cookie scanning in detail.